
Touch Evo Floor Stand & Accessories Bundle
Getting Started
Guide
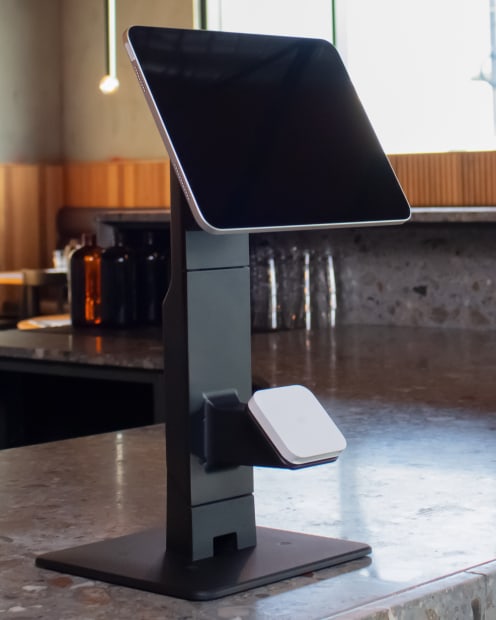
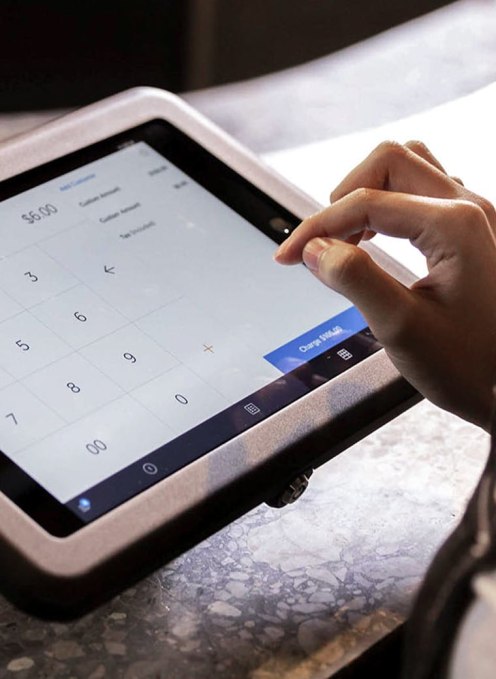
Designed to complement the sleek Evo Floor Stand, the Accessories Bundle ensures your setup remains clean and professional. Whether it’s displaying signage, supporting payment devices, or integrating a Brother Printer, each accessory seamlessly attaches for a polished and unobstructed presentation.
View product page
Accessories Bundle
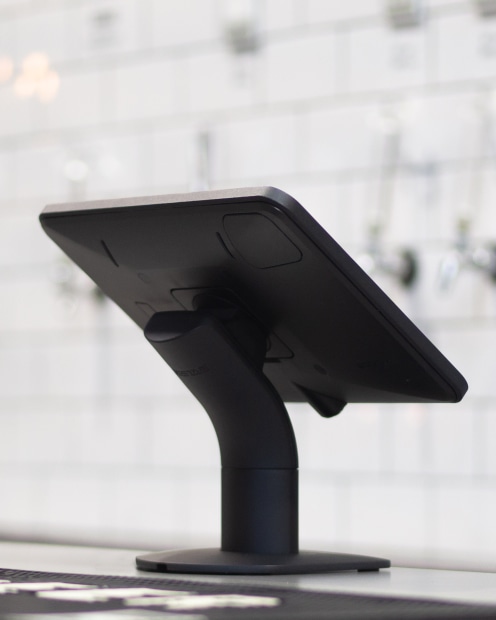
Touch Evo Floor Stand


