
VESA Nexus
Getting Started
Guide
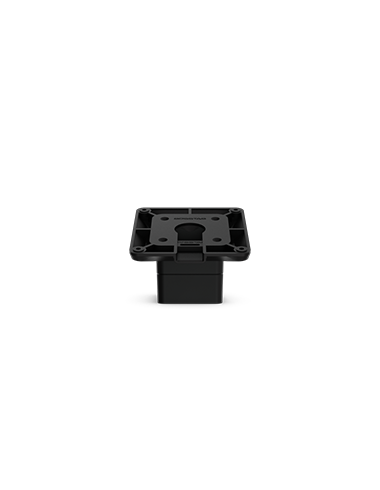
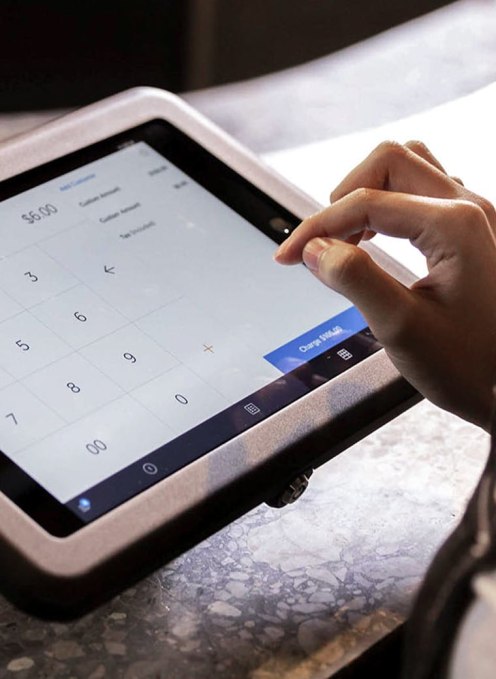
The VESA Nexus is designed to fit any monitor or display with VESA mounting capabilities, ensuring easy compatibility with a wide range of devices.
View product page
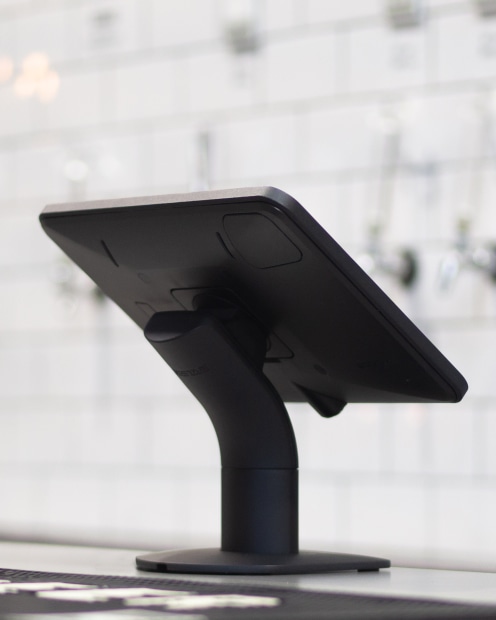
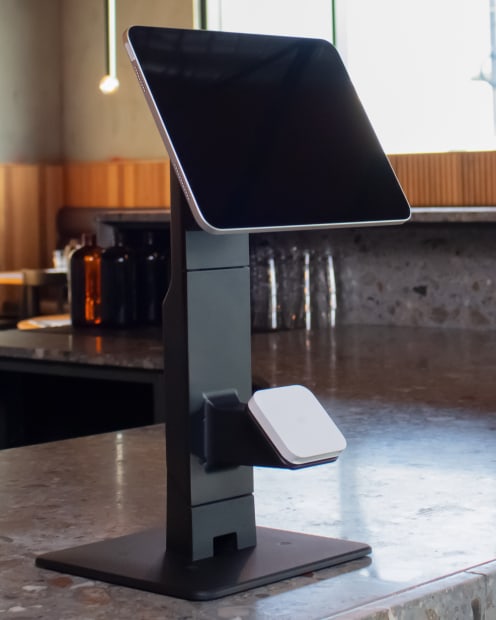
Desktop stand
VESA Nexus