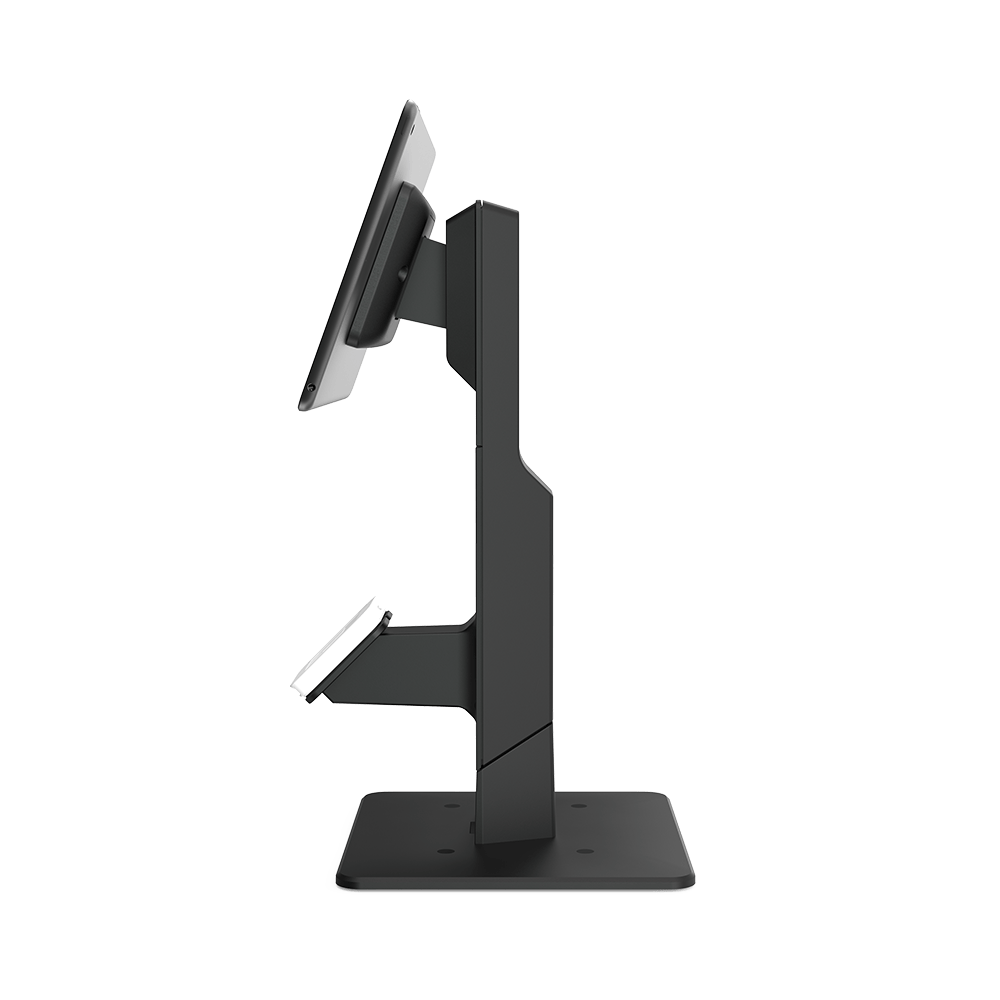
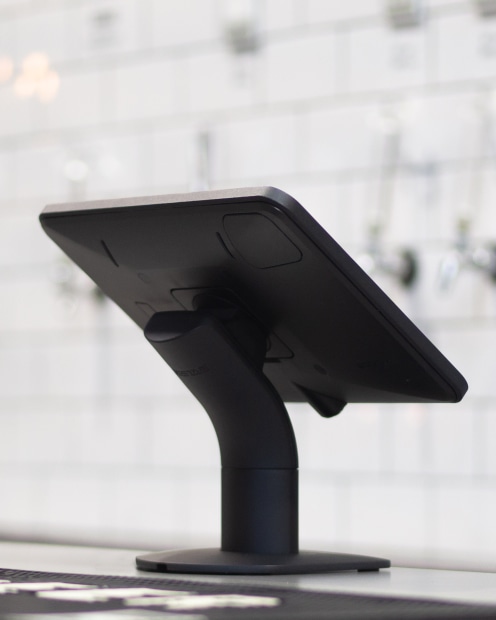
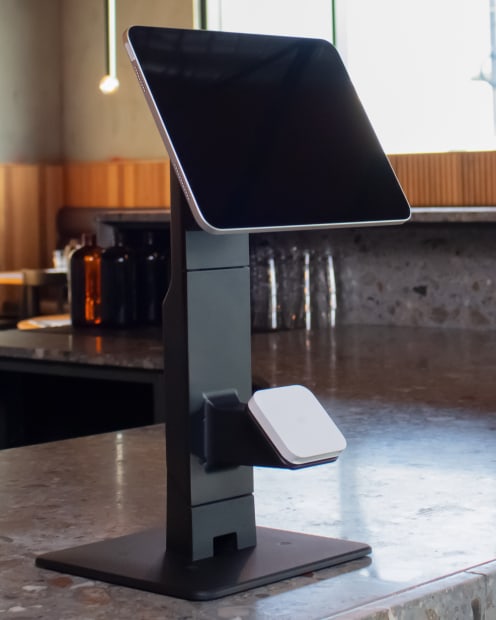
Support
Cart is empty
Cart totals
Subtotal:
$0.00
Tax
$0.00
Total:
$0.00
Popular Search
Page
Support

Overview

For support with the Touch Gemini, view our setup guide, specifications, and fact sheet. We offer all essential resources for an optimal experience with our Gemini device.
View Fact Sheet
Supports All Tablets
Might update your iPad or android tablet in the future? The Touch tablet holder supports all devices and is secured by 4 strong 3M Command Strip adhesives included with the stand.
Measuring
Measuring
Height: 15.47” (393mm)
Width: 8.27” (210mm)

Weight
Weight
6.17 Ibs (2.80 kg)
Materials
Materials
Die-cast aluminum with powder coating

Setup Guide

Screw Mount
Freestanding
Self-Service Accessory
Optional Extras
01 Drill pilot holes & cable hole
Drill pilot holes to assist with screw base mounting. Drill another larger hole if running cable through surface.
02 Screw down stand & apply covers
Screw down your stand using the mounting screws provided and push in the rubber covers.
03 Unscrew bracket from stand
Unscrew top bracket that holds the adhesive and seperate.
04 Peel off adhesive & stick to center of tablet
Peel off adhesive & place the bracket in the center of your tablet. Press & hold for 20 seconds.
05 Screw holder to stand & feed charging cable through
Place Touch holder onto Gemini stand and screw in 4 screws to secure. Feed charging cable through the stand.
06 Screw back top bracket & plug cable
Re-attach top bracket and secure with the lock screw. Plug in the charging cable.
01 Unscrew bracket from stand
Unscrew top bracket that holds the adhesive and seperate.
02 Peel off adhesive & stick to center of tablet
Peel off adhesive & place the bracket in the center of your tablet. Press & hold for 20 seconds.
03 Screw holder to stand & feed charging cable through
Place Touch holder onto Gemini stand and screw in 4 screws to secure. Feed charging cable through the stand.
04 Screw back top bracket & plug cable
Re-attach top bracket and secure with the lock screw. Plug in the charging cable.
01 Remove magnetic panel
Remove the magnetic panel from your Gemini Stand
02 Feed charging cable
Feed your payment device's charging cable through stand.
03 Unscrew 4 screws
Using a philips head screwdriver, unscrew 4 screws and set screws aside to install Self-Service Add On.
04 Keep parts for future use
Keep magnets and magnet covers aside if you wish to revert back to the magnetic panel
05 Attach Self-Service arm
Place the Self-Service Add On onto the Gemini while feeding through the charging cable and screw in using the same 4 screws.
06 Re-attach screw plugs
Cover screws with screw plugs provided.
07 Attach Payment Device Plate
Attach Payment Device Plate to the Self-Service Add On with the adhesive strips facing outwards. Screw Payment Device Plate using the supplied countersunk M4 screws.
08 Plug in charging cable
Peel off adhesive strip covers and plug your charging cable into your Payment Device.
09 Attach your Payment Device
Attach your Payment Device to the Plate ensuring the cable is running through the cable channel. Press and hold to secure adhesive.
01 Power & PoE Access
For power bank and PoE access, remove the magnetic panel for access to the cable channel.
Problems during setup?

Shop at Bosstab

Excellent
5 Stars
4.84 based on 145 reviews
REVIEWS.io
box tick 1
Fast Delivery

Same day dispatch when you order before 2:00 pm.

verify 1
Bosstab warranty

We back our product with a massive 24 month warranty.

happyemoji 1
Reliable Support

Got a question? Chat, email or talk to our super friendly support team.

Company Reviews + -
Excellent
5 Stars
4.85 based on 145 reviews
REVIEWS.io
arrow prev
arrow next
Share Your Cart